How to plan a sleeve that fits the arm
Outer arm, elbow and inner-bend anatomy, plus how tall a sleeve design needs to be to fill 55 to 70 cm.
8 min read
How long does a full sleeve take to complete?
A full sleeve from shoulder to wrist spans about 55 to 70 cm of arm and normally takes four to eight sessions of two to four hours, so roughly 20 to 40 hours total. Half sleeves (shoulder to elbow) need about half that. The number varies with how much background fill your design needs and with the artist's session length limits.
Try it while you read
Use the tool below to upload a photo and place a design at the size discussed here. Free, no signup.
Open the preview toolWhat goes on the outer arm versus the inner elbow?
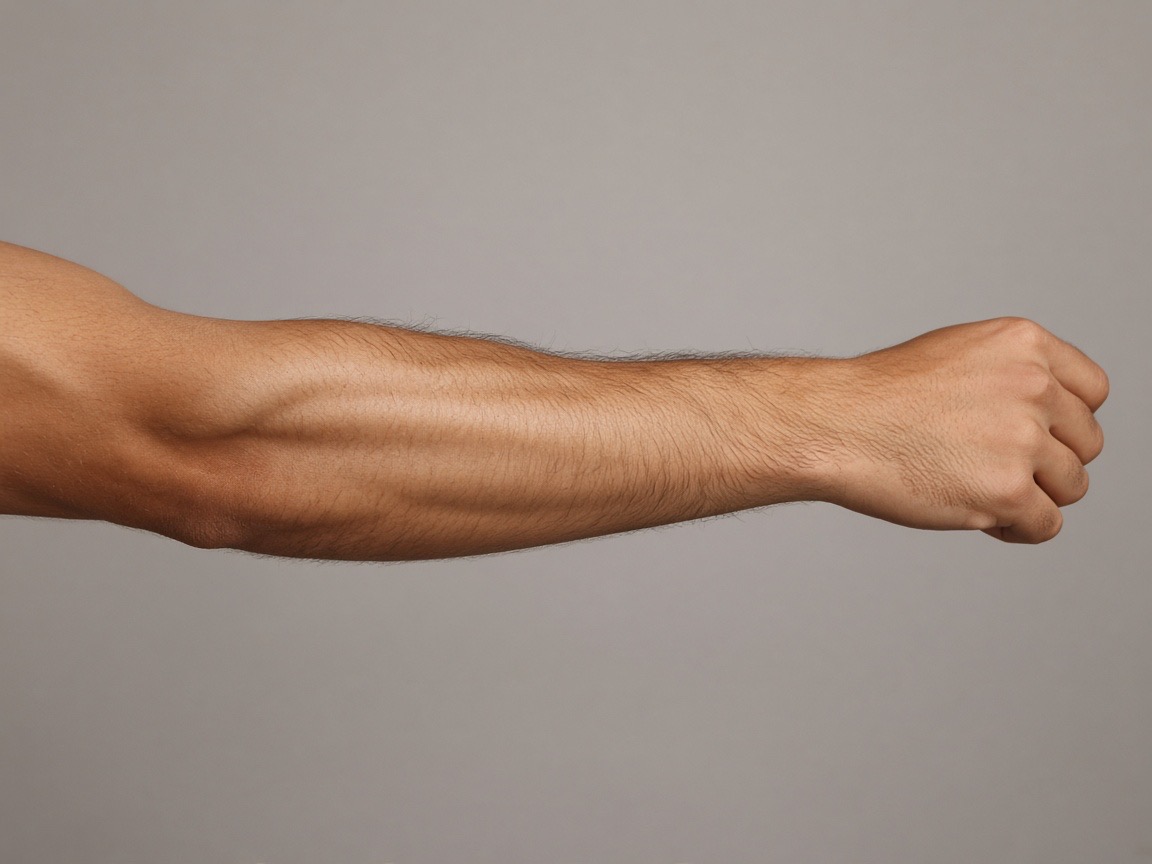
Put high-detail or focal work on the outer arm, which is flat, large and visible from a distance. Use the inner elbow for elements that read well at close range: script, small symbols, or nothing at all. The inner elbow bends with every movement, so fine detail there distorts fast, and it is also the most painful area of the arm.
- Outer arm: main imagery, colour, high contrast
- Outer elbow: spacing or background, rarely a focal piece
- Inner elbow: script, small details, or clear skin
- Inner forearm: a separate script or vertical element
How tall should a sleeve design be?
Design for roughly 35 to 45 cm of usable height on the arm, because the shoulder cap and wrist taper mean a design that fills the whole visible arm will run out of skin near both ends. A square-ish composition works better than a wide one: sleeves are tall and narrow, so wide horizontal designs leave dead space at the top and bottom.
Should I plan a sleeve with a background fill?
Yes, if you want it to read as one piece. A photo only shows one side of the arm, so any area not covered by your main artwork needs a plan: waves and clouds for Japanese work, wind bars or dotwork for neo-traditional, or a solid black or colour field. Decide this before the first outline, because adding background later is expensive.
Frequently asked questions
Try it with these tools
Every tool runs in your browser, is free, and needs no signup.
tattoo simulator
A free tattoo simulator: upload a photo of your skin, place any design and simulate size, angle, opacity and ink fade before you get inked. No signup, no watermark, runs in your browser.
tattoo try on
Try a tattoo on your own photo before you get inked. Upload a photo, tap a design, adjust size and angle, download free. No signup, no watermark, photos stay on your device.
tattoo visualizer
Visualize a tattoo design on your body with measured, true-to-scale templates for 14 placements. See size, angle and ink density, then download a PNG. Free, no signup.
tattoo on body
See how a tattoo looks on your body before you commit. Upload a full-length or close-up photo, place the design, and judge scale against your own frame. Free, private, no signup.
tattoo maker
A tattoo maker that assembles your design and places it on your photo. Combine artwork, script text and multiple layers, adjust scale in centimetres and download a PNG. Free, no signup.
tattoo creator
Create a custom tattoo: combine artwork, script text and layers into one composition, then preview it on your own photo at true scale. Free to design and download, no signup.
free tattoo generator
A free tattoo generator with no signup and no watermark. Combine designs and script, place them on your photo at true scale, and download as PNG. Optional paid AI renders, free overlay editor.
ai tattoo generator
An AI tattoo generator that turns your placement mockup into a realistic photo of healed ink with skin texture and lighting. Made with Google Nano Banana. Overlay editor stays free.
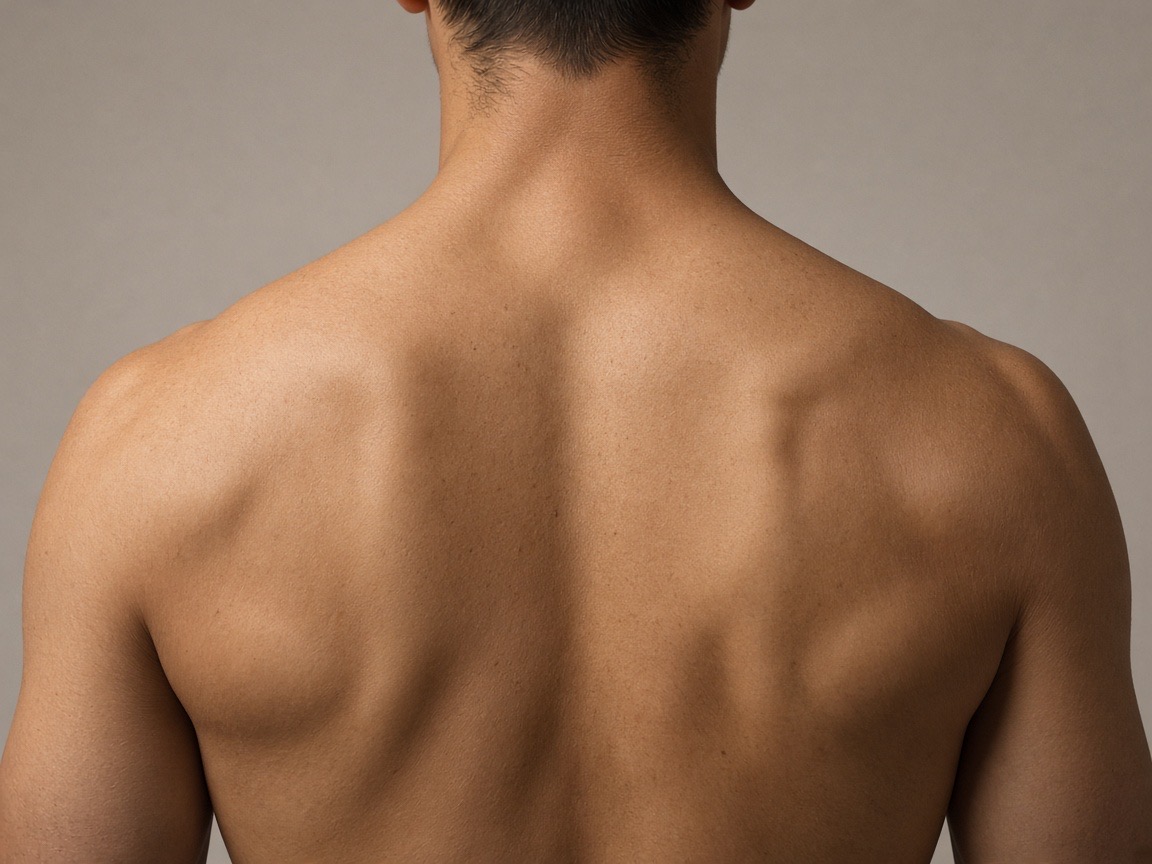
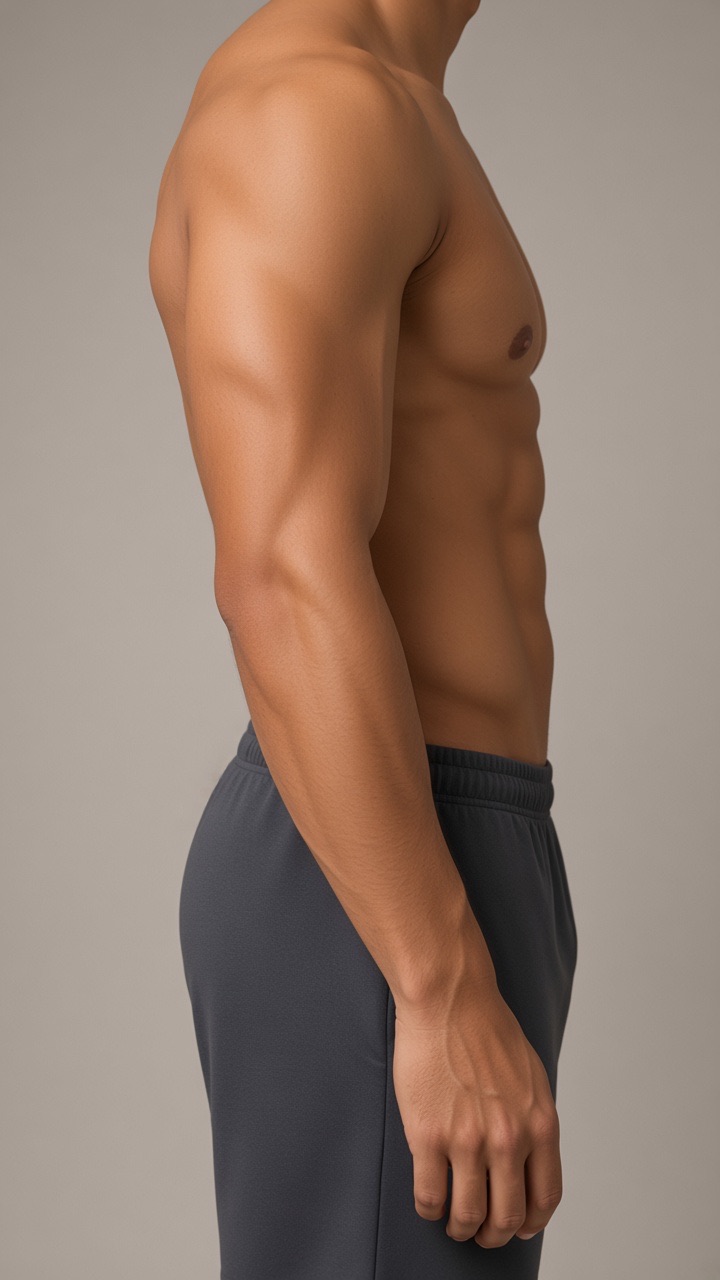
Preview the placements discussed
Try it on your own photo
Upload a photo, place a design, then adjust size, angle and opacity. Free, no signup, no watermark, and your photo never leaves your device.
Open the preview tool