
How to take a photo your preview will love
Light, angle, distance, skin prep and tricks for hard-to-reach spots — the five things that decide whether a preview looks real or like a sticker.
6 min read
How should I photograph my skin for the most realistic preview?
Stand facing a window in soft daylight, hold the phone parallel to the skin about 30 to 40 cm away, and fill the frame with the body part plus some margin around it. Turn off beauty mode and filters, remove watches and bracelets, and tie hair back for neck and ear shots. A photo taken this way lets the preview match size and lighting instead of fighting them.
Try it while you read
Use the tool below to upload a photo and place a design at the size discussed here. Free, no signup.
Open the preview toolWhat lighting works, and what ruins a preview?
Soft window daylight is the best light because it shows skin texture without harsh shadows. Overhead yellow lamps flatten everything, direct flash blows out the texture the preview needs, and strong backlight turns the skin into a silhouette. If the room is dark, move closer to the window rather than turning on the flash.
- Best: window daylight, skin facing the light
- Avoid: flash, overhead yellow light, strong backlight
- Dark room? Move to the window, do not use flash
How far should I hold the camera, and does the angle matter?
Angle matters more than distance. A photo shot at a tilt stretches the design, so the preview reads the wrong size; keep the lens parallel to the skin. About 30 to 40 cm works for a wrist or ankle, an arm’s length for a forearm or thigh, and two steps back for a back piece. Arm’s-length selfies distort curved areas, so use the rear camera with a timer or ask someone to shoot for you.
Should I prep the skin before shooting?
Keep it simple: clean, dry skin with no lotion shine, no beauty filters, and nothing covering the area. Shaving is optional and only matters for very hairy spots where hair breaks up fine lines. What matters most is removing the things people forget: sleeves casting shadows, bracelets pressing dents into the wrist, and long hair falling over the neck or behind the ear.
How do I photograph hard spots like ribs, back and behind the ear?
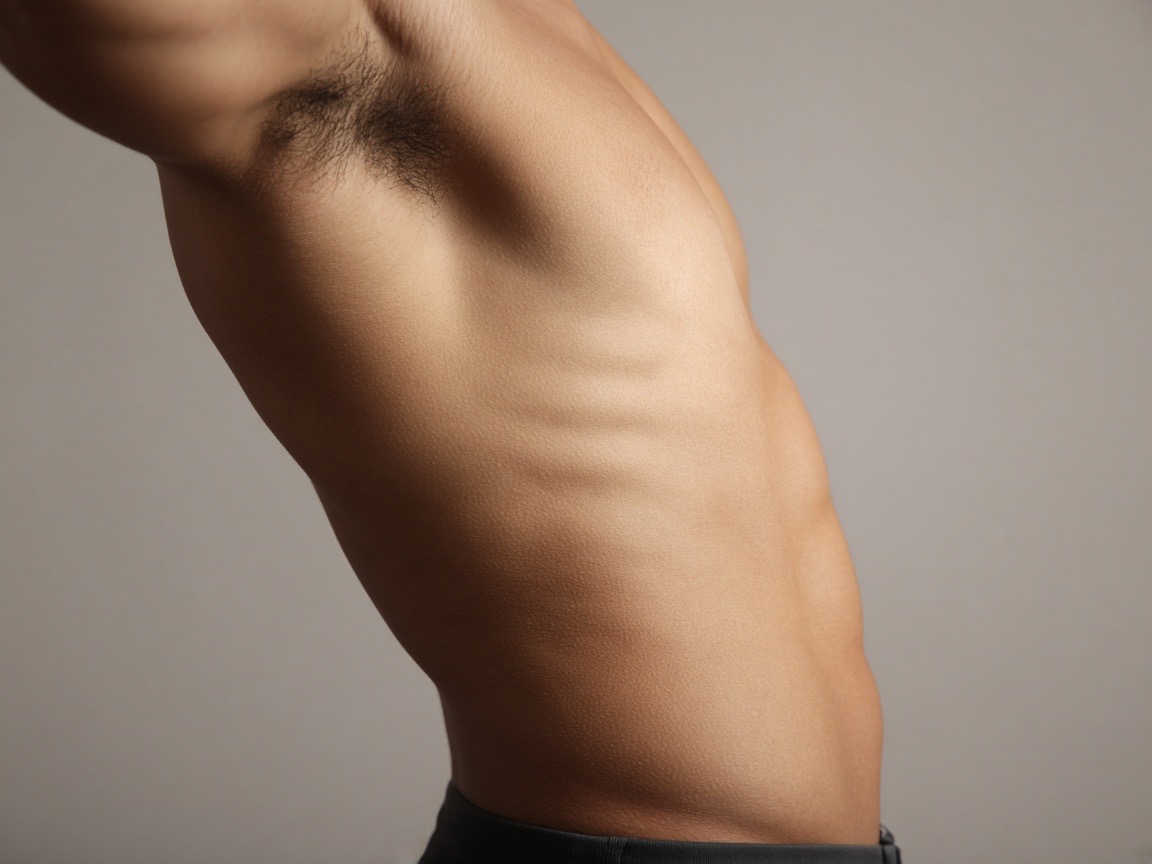
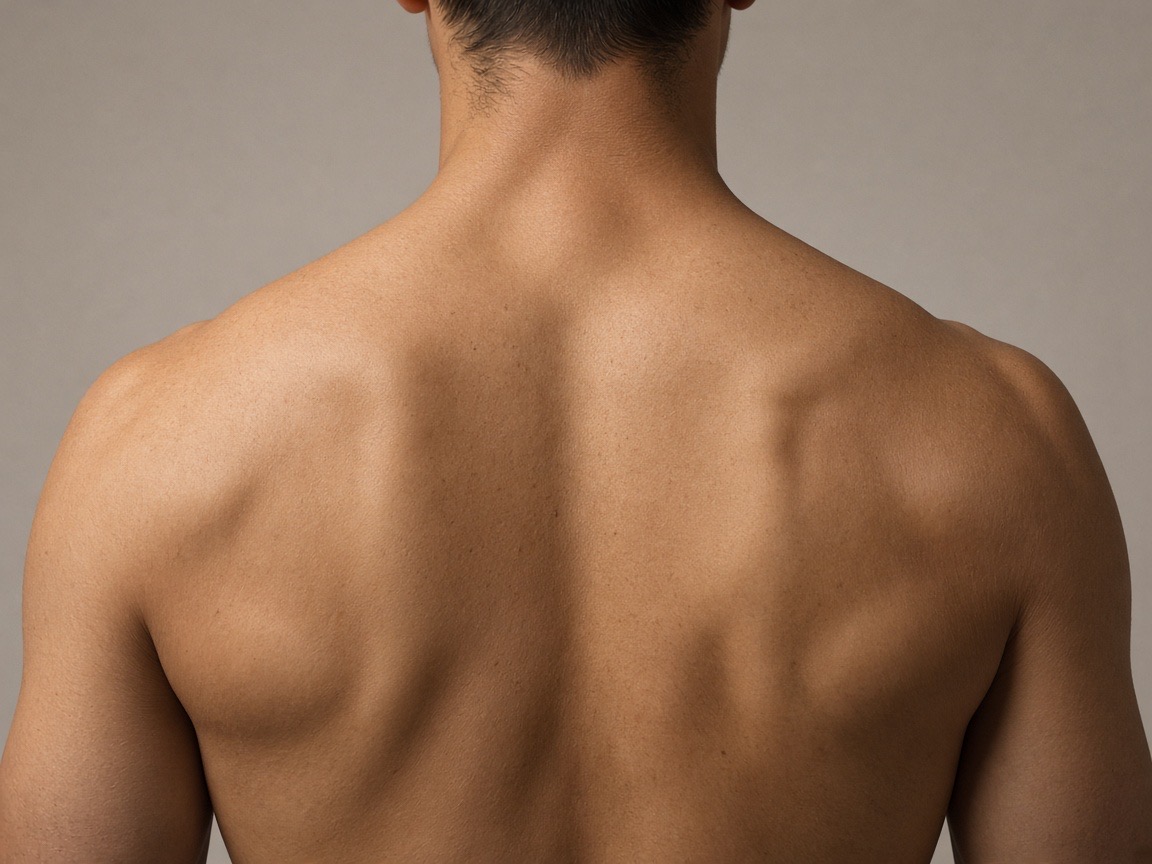
For ribs, stand sideways to the mirror and shoot the reflection with the rear camera so the lens stays parallel to your side. For the back, set the phone on a shelf with a 10-second timer and stand relaxed, arms at your sides. For behind the ear, pull the hair fully away, turn your head 45 degrees to the window, and take three shots: straight side, slightly front and slightly back.
- Ribs: mirror plus rear camera keeps the lens parallel
- Back: phone on a shelf, 10-second timer, relaxed pose
- Behind the ear: hair fully away, three angles
Frequently asked questions
Try it with these tools
Every tool runs in your browser, is free, and needs no signup.
tattoo try on
Try a tattoo on your own photo free: no signup, no watermark, photos never uploaded — everything runs locally in your browser. Unlimited previews, 14 body templates, free PNG download.
tattoo visualizer
Visualize a tattoo design on your body with measured, true-to-scale templates for 14 placements. See size, angle and ink density, then download a PNG. Free, no signup.
tattoo on body
See how a tattoo looks on your body before you commit. Upload a full-length or close-up photo, place the design, and judge scale against your own frame. Free, private, no signup.
tattoo maker
A tattoo maker that assembles your design and places it on your photo. Combine artwork, script text and multiple layers, adjust scale in centimetres and download a PNG. Free, no signup.
tattoo creator
Create a custom tattoo: combine artwork, script text and layers into one composition, then preview it on your own photo at true scale. Free to design and download, no signup.
free tattoo generator
A free tattoo generator with no signup and no watermark. Combine designs and script, place them on your photo at true scale, and download as PNG. Optional paid AI renders, free overlay editor.
ai tattoo generator
An AI tattoo generator that turns your placement mockup into a realistic photo of healed ink with skin texture and lighting. Made with Google Nano Banana. Overlay editor stays free.
tattoo preview
Preview any tattoo on your own photo. 14 measured body part templates, script text, multiple layers, centimetre scale readouts and free PNG export. No signup, no watermark.
Preview the placements discussed
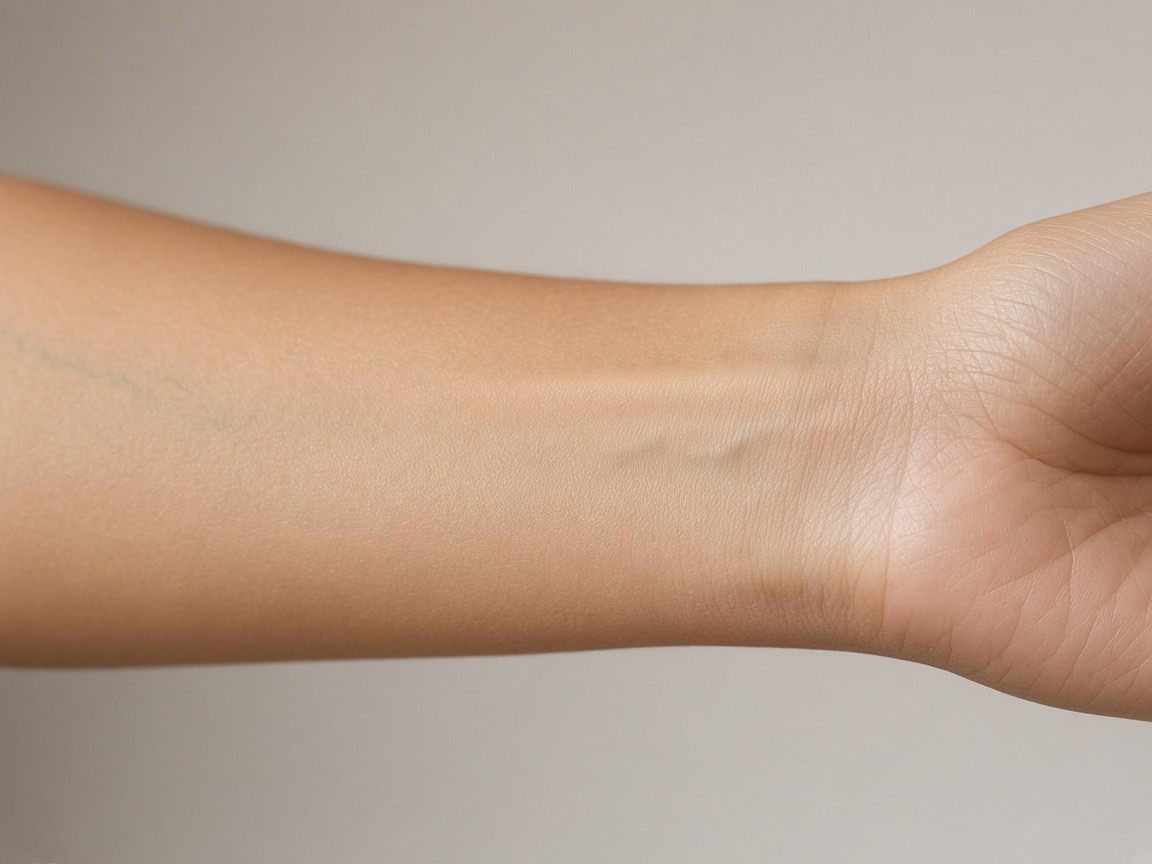
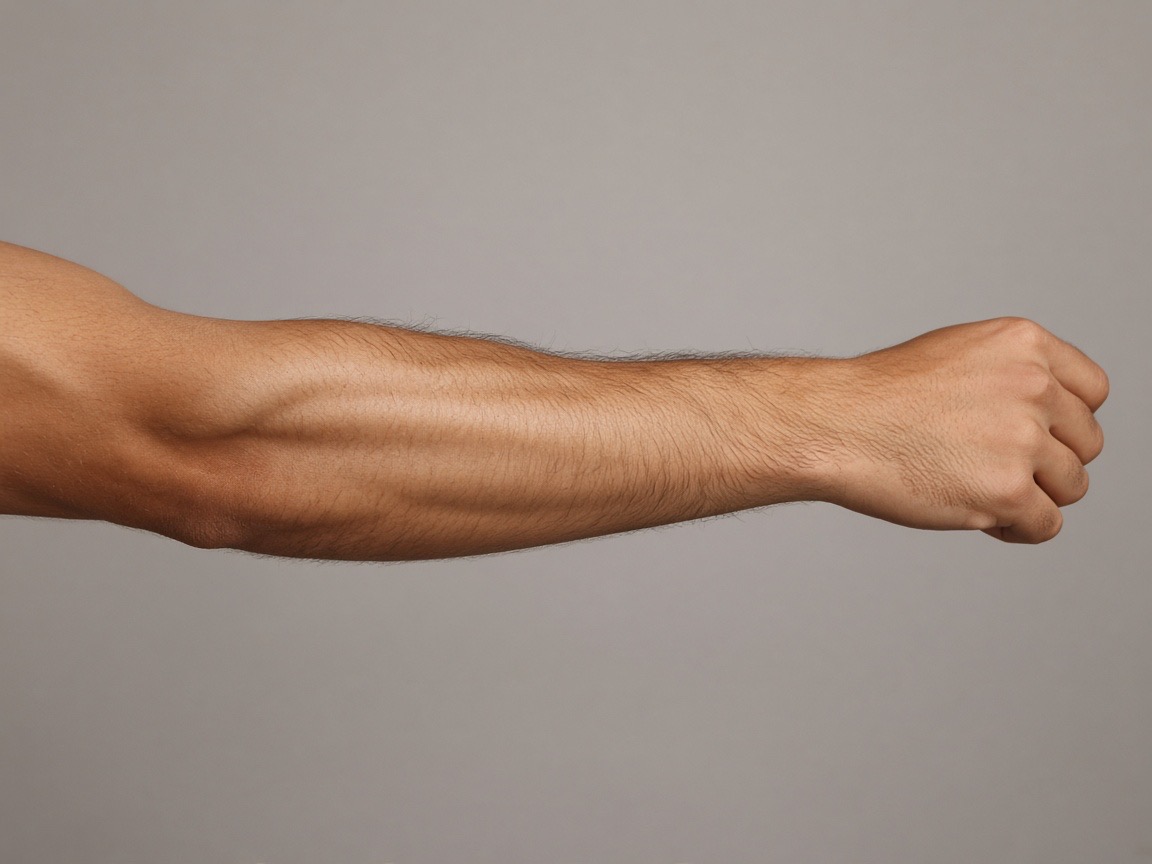
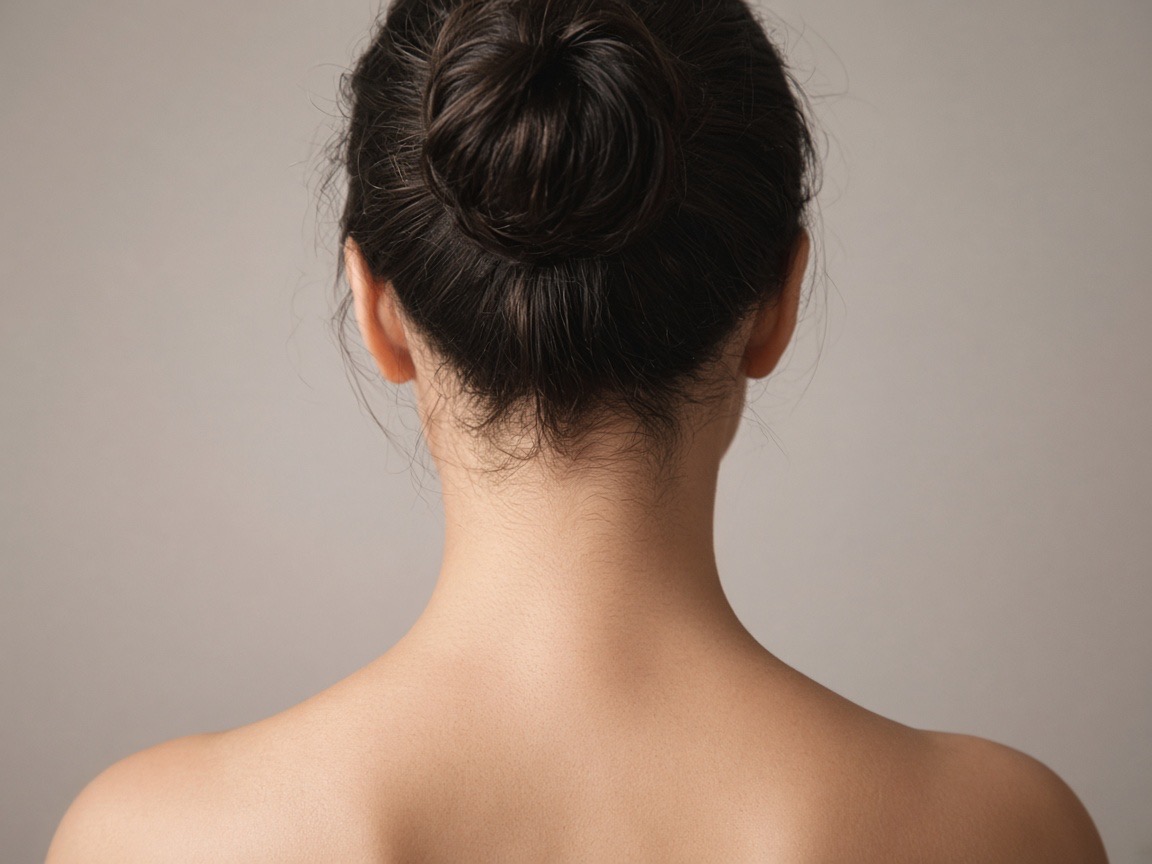
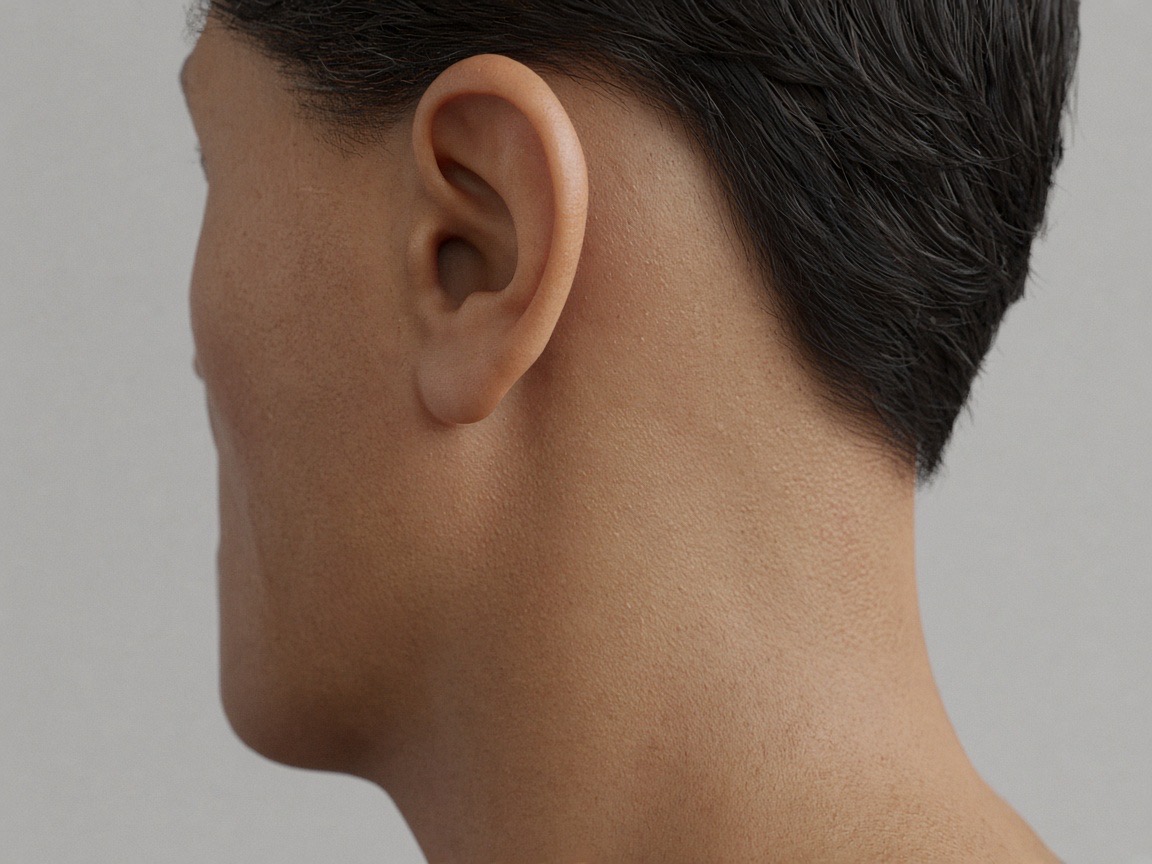
Try it on your own photo
Upload a photo, place a design, then adjust size, angle and opacity. Free, no signup, no watermark, and your photo never leaves your device.
Open the preview tool